
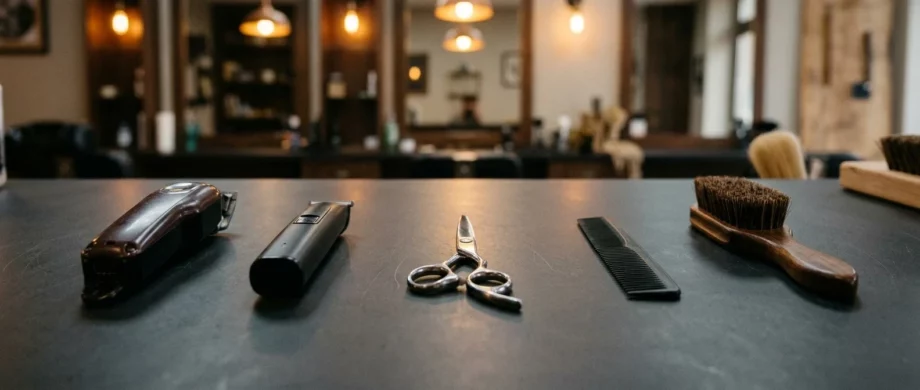
The best barbering tools for beginners are the tools that are easy to use. There are so many tools out there that can overwhelm the new barber.I buy tools in stages, and I think a new barber should too. There’s no need to worry or believe you have to purchase the highest-priced machine to be productive. It’s not the tool but the one who operates the machine. Every haircutting clipper on the market functions in the same manner. You have a stationary blade and a cutting blade. These tools themselves come in two different types. The detachable blade clipper uses swappable blades for different cutting lengths, while the adjustable blade clipper uses attachment combs to guard the cut at set lengths. Although attachment combs can be used on the detachable blade, most barbers prefer a clipper-over-comb approach when needed.
For the individual just starting in barbering, an adjustable clipper can be easier to use for accomplishing requested blend styles. These tools can be used to remove bulk and add detail. Choose the clipper with a motor that has enough torque (vector or pivot) to tackle heavy, dense, as well as the not-so-dense hair types. Finishing your haircuts adds detail for a sharp look, giving your customers the value they are searching for when they hire you for the job. The trimmer is the tool to get that job done. A good trimmer has a strong motor and the ability to create clean lines without irritating the skin. The Wahl Hi-Viz I recommend highly. These cut cleanly and create a sharp detail to your haircuts without a need to overwork your blade. Everything else can wait until your income grows and your clientele pays for it.
This guide puts purchases in the order I would make them: day one, month three to six, and the things I would skip in year one.
Why I buy tools in stages, not all at once
A new barber has an unpredictable income and a long list of things to buy. Spending the whole budget before the first client sits down is the quickest way to end up with a drawer of gear you do not understand yet.
Skill decides which tools are worth money. You cannot tell a clipper you love from one you merely tolerate until you have cut with it for weeks. You cannot judge a shear until your hand knows how it wants to cut. Buying in stages lets your experience make the decision.
Staging also protects cash flow. Money spent on a tool you do not need yet is money you cannot spend on a tool that would help you today. If you are still building the technique side, the core skills a new barber needs before charging a fee will tell you where your practice time belongs before your next purchase does.
My rule is simple. Buy it when the lack of it costs you a client, a clean result, or your safety. Wait on everything else.
The day-one kit: what you cannot cut without
Here is the list I would not cut down any further:

- One full-sizecorded or cordless clipper
- One trimmer for edging and detail work
- A full set of guards for the clipper
- One pair of shears
- Two or three combs, including a cutting comb and a taper comb
- A neck brush and a cape
- Neck strips or towels
- A spray bottle
- Clipper oil
- EPA-registered disinfectant that your state board approves for tools and surfaces
That is the whole list. It covers a fade, a scissor cut, an edge-up, and a clean finish. A client who sits in your chair will not see anything missing.
Razors are the item I would ask you to check against your own state. Rules on straight razors and blade use differ by state, and your school and board decide what you can use on a paying client. Follow them before you shop.
Buy for reliability on day one. Your first clipper will get used all day, so choose one with a good reputation, not necessarily a high price.
Clippers and trimmers: what I look for before I spend
Clippers are the largest single expense in the kit, so I slow down here. I check four things before I buy.
Power that holds up. A clipper that bogs down in thick hair slows you down and pulls on the client. Look for the vector motor or pivot motor clipper with good reviews that talk about performance on dense, coarse hair, since you will meet every hair type.
Blade quality and adjustability. The blade does the cutting. You want one that stays sharp, can be adjusted or swapped, and is easy to get replacements for. A great motor with a blade you cannot replace is a short-lived purchase.
Weight and balance. My preference in a clipper is a corded machine with some weight for better handling and easy control. I have heard that some clippers can be too heavy for some. You will hold this tool for hours. A clipper that feels fine for five minutes in a store may start to seem heavy after a few haircuts. Go for a lighter feel at first touch in your cutting grip.
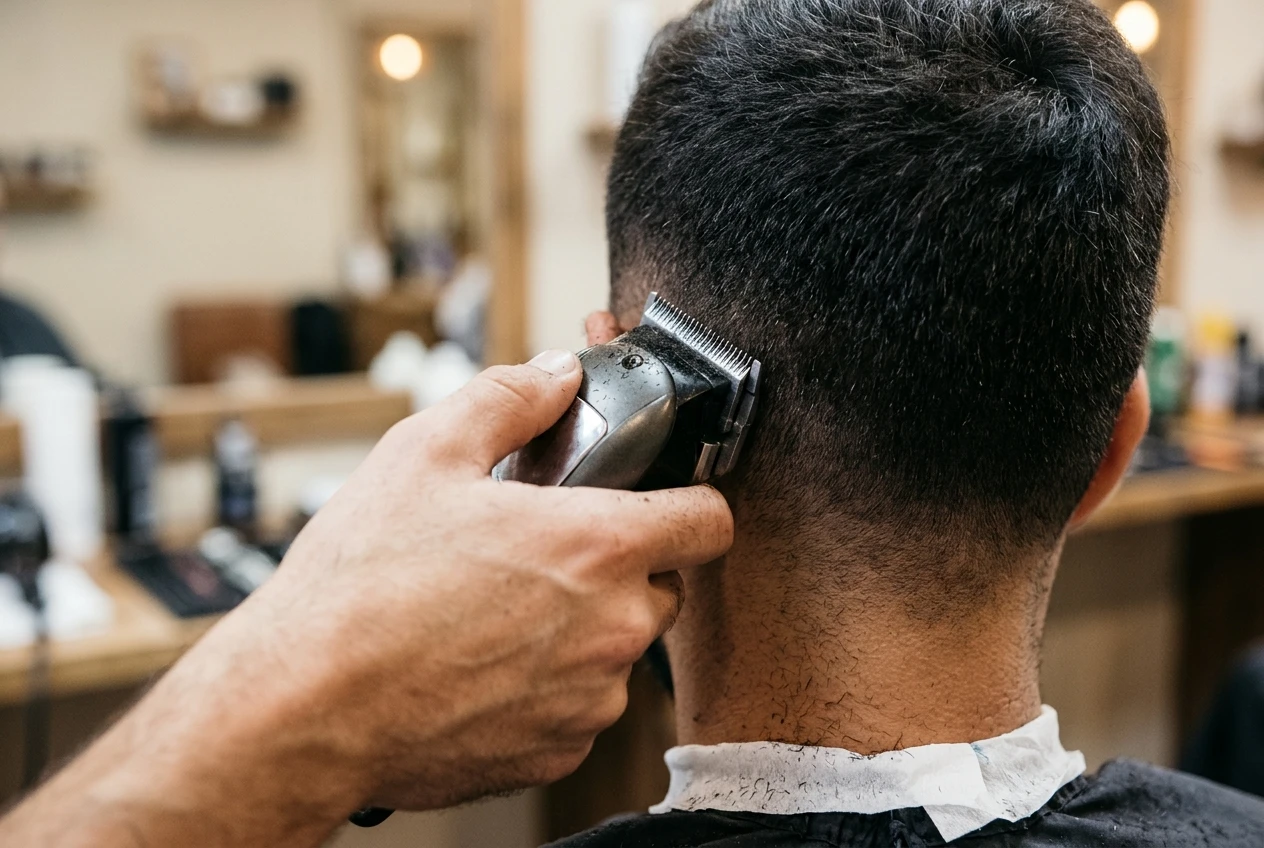
Cord or battery. Corded gives steady power and no battery anxiety. Cordless gives freedom of movement. If you go cordless, check how long the battery lasts and whether you can swap it. I still use corded clippers because I cut in high volume and appreciate the constant flow of power. However, I do own some cordless tools for my house call visits.
For the trimmer, I want a sharp, close-cutting blade that gives me a precise line. Your edge work is the first thing a client checks in the mirror, so it is worth getting right. For many reasons, I am against zero gapping, but a proper adjustment of your blade will assist in sharp, clean lines.
Once you own the tool, how you use it matters as much as which one you bought. My post on how to improve a barber’s clipper speed covers building pace without losing quality.
Shears, combs and brushes: the small gear that shows your standards
Clippers get the attention, but clients notice the small things. They see the comb you reach for, the brush you use on their neck, and the way you handle your shears.
Shears. Buy one good pair, not three mediocre ones. You need a pair that is the right length for your hand, and that opens and closes smoothly without grinding. Skip anything priced for a master stylist until you know what you prefer. A reliable mid-range pair teaches you what you like, and that knowledge makes your second purchase better.
Combs. Choose combs that are sturdy, with teeth that are evenly cut and free of rough edges that snag hair. A bent or chipped comb tells the client you do not look after your tools. Replace it. Carbon fiber combs are made from great material and are built to last.
Brushes. A soft neck brush clears hair off the skin and collar. It is a small purchase, but it is what the client feels at the end of the service. A good finish gets remembered. Purchase these in bulk and purchase the neck duster that can be disinfected and reused.
None of these cost much compared with clippers. They also show your standards faster than almost anything else, so I do not cheap out on cleanliness or condition here.
Sanitation and station basics clients notice
A client who watches you clean your tools learns that you take the work seriously. A client who watches you skip it will not come back, and may not say why.
Your state board sets the sanitation rules, and those come first. Inside those rules, here is what I want visible at my station:
- A disinfectant container for combs, brushes and metal tools, with fresh solution
- Clean capes and a fresh neck strip or towel for every client
- A clipper that is brushed out, wiped and oiled between uses
- A swept floor and a wiped counter between clients
- Hand washing or sanitizing where the client can see it
Buy enough capes and towels that you never reuse one between clients to save time. I would also keep a small trash bin and a covered container for used items within arm’s reach, so cleanup does not slow your next appointment.
Sanitation supplies are not exciting purchases. They are the cheapest way to look like a professional, and they protect you and your client. Because they matter this much, they belong on the day-one list.
Month three to six: upgrades worth paying for once you have regulars
By month three, you should have some repeat clients and a better sense of how you work. This is when I would spend again, and only on things you have felt the lack of.
A backup clipper. If your main clipper fails mid-appointment, you lose time and look unprepared. A second clipper pays for itself the first time it saves a day. It can be a smaller or older model, as long as it works.
A second trimmer or a cordless detail tool. Having a spare, or a lighter option for fine work, makes long days easier.
Better shears. Now that your hand knows what it wants, you can choose a pair for your style. Spend more because you have a reason, not because the price tag looks impressive.
More capes and towels. Regulars mean a fuller schedule. More stock means less laundry pressure between clients.
Extra guards and blade options. Add what you keep reaching for and not finding.
Before each of these, ask one question: what specific problem does it solve? If you cannot name one, wait another month. Your calendar is your guide. A full week of regulars justifies an upgrade, and an empty week says to keep the money.
What I’d skip in year one, however good it looks online
Social media makes gear look essential. Most of it is not, at least not yet.
- Premium shears at top-tier prices. You will not get the benefit until your technique can use it.
- Several of every clipper model. One main clipper and one backup is plenty.
- Large comb and brush collections. A few good ones beat a drawer of duplicates.
- A big stock of retail products. Wait until clients ask for something before you carry it.
- Gadgets that promise a faster cut. Technique makes you faster. A new gadget rarely does.
- Station decor and furniture beyond what you need. Presentation matters, but a clean, simple station beats an expensive cluttered one.
Skipping these does not hold you back. It keeps your money available for what your business needs once real clients show you what that is. If you want to see a full working kit for comparison, my post on the arsenal of tools I use to cut hair is a tour of one finished setup. Treat it as a destination and not a day-one shopping list.
Treat your kit as a business expense: track every purchase
Every tool you buy is a business cost. Tracking it from the first purchase makes you a better operator and makes tax time easier.
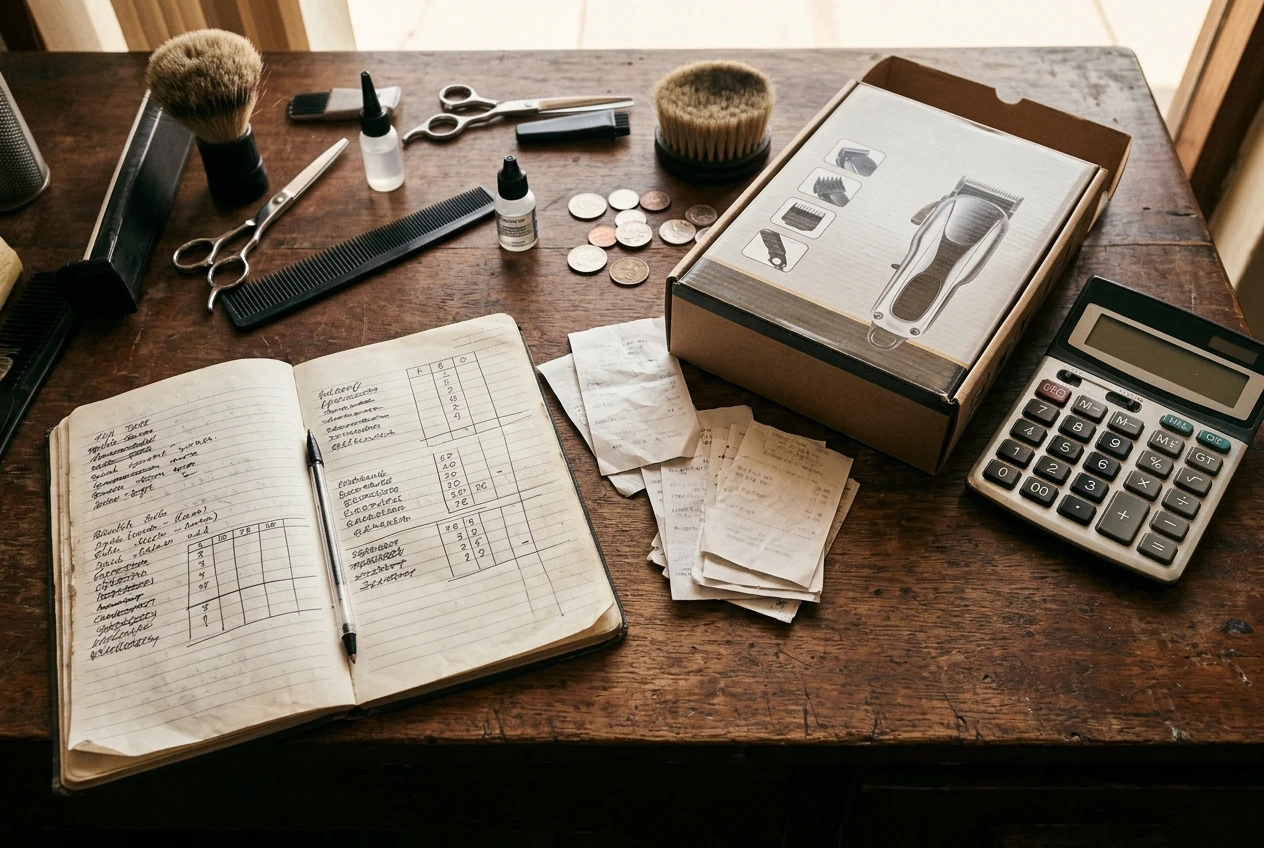
Keep a simple record for each purchase:
- The date
- What you bought and where
- The amount you paid
- A saved receipt or screenshot
- The reason you bought it
The “reason” column is the one that improves your decisions. After a few months, you can read it and see which purchases earned their place and which did not.
Keep tool spending separate from personal spending if you can, with its own account or card. Check the rules for deductions with a qualified tax professional in your state, since I cannot tell you what applies to your situation. If you have not started tracking yet, I explain why it is important to track your income and expenses in a separate post.
Treating your kit as an expense also changes how you think about buying. A tool that earns more than it costs is an investment. A tool that sits unused is a loss.
Some tool recommendations on this site use affiliate links, which means I may earn a commission if you buy through them. You can read the details on the affiliate disclosure page.
So what was your first tool purchase, or what is on your list right now? Share it in the community, and tell us whether you would buy it again.